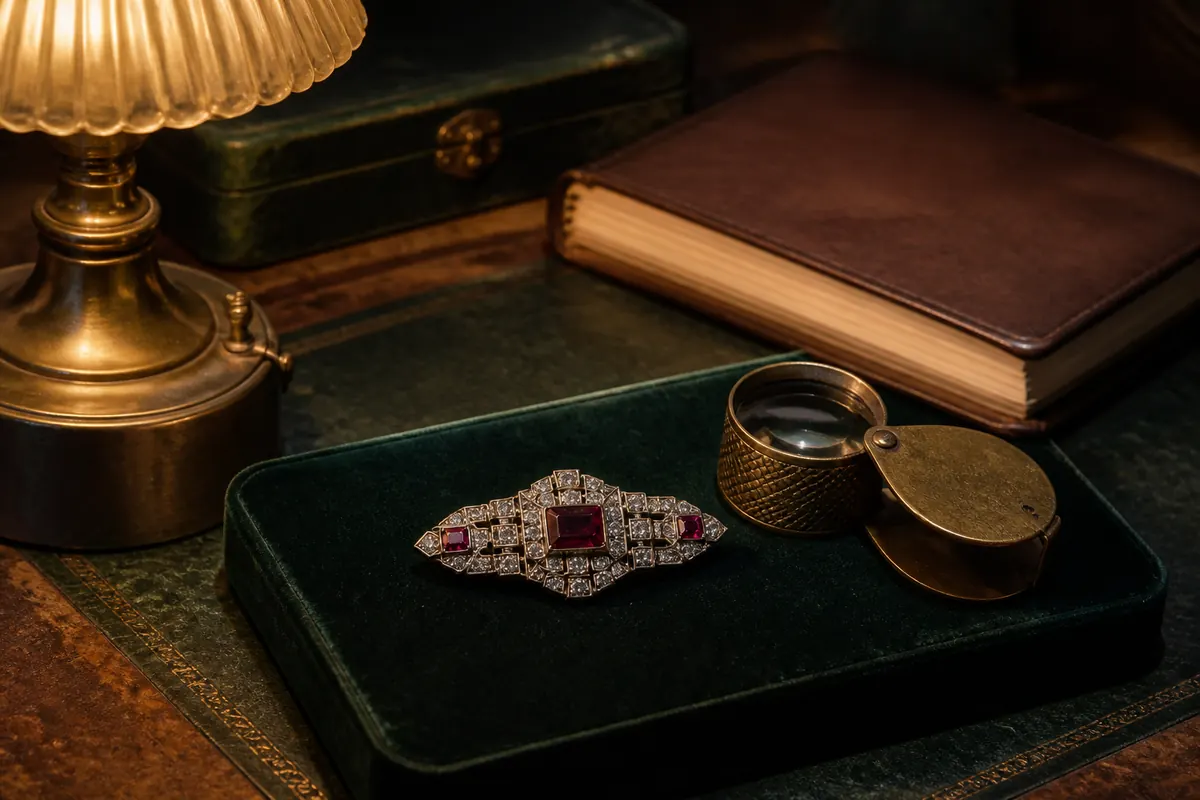
Quick answer: Tiny marks can reveal a jewelry piece’s metal, maker, country, or assay system, but a hallmark is only one part of the evidence. Learn how to photograph it without damage and compare it with construction, stones, settings, and wear. Use the steps below to collect evidence before you search for an exact maker, date, or value.
Start with a safe visual inspection
Jewelry is small, reflective, and easy to damage. Work over a soft, clear surface with good light and avoid pulling stones, bending clasps, testing acid, or polishing before the piece is documented. Photograph the front, back, clasp, hinge, pin, setting, and any loose components. Include a ruler beside the piece and record weight only if you can do so safely.
Use a loupe or phone macro mode carefully, but do not mistake a blurry enlarged photo for a readable hallmark. Move the light rather than scraping the mark. A side light can make a shallow stamp visible, while diffuse light reduces reflections on polished gold, platinum, and gemstones.
Write down exactly where the mark appears: inside a ring band, near an earring post, on a bracelet clasp, on the back of a brooch, or beside a pendant loop. Location can help distinguish a maker’s mark from a metal fineness mark or a later repair stamp.
Separate the common types of jewelry marks
Metal marks, maker marks, assay marks, date letters, import marks, patent numbers, and retailer stamps can appear together or separately. A number such as 925, 800, 14K, or 18K usually points to a fineness or karat convention, but regional systems differ and counterfeit marks exist. A maker’s initials or symbol can narrow the search only when the shape, construction, and period also fit.
Photograph the mark in context and transcribe alternatives if a character is uncertain. A worn “B” may resemble an “8,” a crown may be part of a symbol rather than a fineness mark, and a tiny date code can be confused with a model number. Search several plausible readings, but keep the original image beside your notes so you do not unconsciously change the evidence.
Country and assay systems are especially important. The same number can mean different things in different markets, and jewelry may have been imported, repaired, or assembled from components made in more than one place. Treat a mark as a prompt to research the relevant region, not as a universal dating key.
Construction can date a piece when the mark is weak
Examine how the piece was made. Look at solder seams, prongs, bezels, hinges, rivets, chain links, clasp design, pin stems, earring fittings, and the back of a brooch. Hand fabrication, die work, casting, and later mass production leave different patterns, but the overlap is broad. A jewelry specialist may need microscopy or testing for a confident conclusion.
Gemstones add another layer. Observe cut style, facet wear, setting method, drill holes, foil backing, inclusions, and whether the stones match the period suggested by the metalwork. Do not identify a stone by color alone and do not perform destructive tests at home. A replacement stone can preserve the value of the mounting while changing the object’s history and price.
Wear should be concentrated where the item was handled or fastened: the clasp, pin, chain contact points, ring shoulders, or inside a bracelet. Fresh sharp edges, inconsistent solder, bright replacement parts, or a different surface color can point to repair. Repairs do not make a piece uninteresting, but they should be part of an honest description.
Recognize the limits of hallmark searches
Online hallmark databases are useful for generating candidates, but images can be incomplete, marks can be copied, and the same maker may use multiple versions over time. Compare the mark’s outline, lettering, spacing, orientation, and placement, not just the name attached to a similar symbol. Save a source image or reference note so your attribution can be checked later.
Photo-based AI can help you describe the likely style, period family, materials, and next clues to inspect. Antique Identifier is most useful before a specialist visit: it can help organize the photo set and turn a vague question into a focused one. It cannot verify metal purity, hidden repairs, gemstone treatment, or authenticity from an image alone.
For a valuable ring, signed brooch, inherited collection, or piece being insured or sold as precious metal, use a qualified appraiser, gemologist, or jewelry specialist. A formal opinion should include the limits of the examination and the basis for the conclusion.
How to document jewelry for resale or insurance
Create a small record for each piece: dimensions, weight, metal marks, maker or signature, stone description, condition, repairs, provenance, and photographs. For a set, record whether the earrings, box, pendant, chain, or matching pieces are original. Keep receipts, old photographs, family notes, and prior appraisals together, but label which claims are documented and which are memories.
If you sell online, write the title around what the evidence supports. “Marked 925 floral brooch, likely mid-century” is safer than an unsupported designer attribution. Describe the mark exactly, show it in a close-up, disclose repairs, and avoid guaranteeing age or value. Clear documentation protects both buyer trust and your own future research.
When comparing prices, match sold examples by metal, maker, design, size, stone, condition, and completeness. A similar-looking piece can have a different result because the hallmark, stone, or provenance changes the buyer’s confidence.
Jewelry hallmark checklist
Work in this order so the mark supports the object rather than replacing it.
- Photograph front, back, clasp, hinge, pin, setting, and hallmark location.
- Transcribe marks character by character and record uncertain readings.
- Identify whether each mark is fineness, maker, assay, date, import, or retailer related.
- Compare construction, stones, wear, and repairs with the proposed period.
- Never polish, acid-test, bend, or disassemble a valuable piece at home.
- Use a specialist for formal valuation, insurance, estate, or authenticity decisions.
Read hallmarks with the whole piece in view
A hallmark is easier to interpret when you document its exact location and the object around it. A tiny stamp inside a ring, near a clasp, or on the back of a brooch may be a fineness mark, maker’s mark, import mark, retailer mark, or a combination. Photograph the mark straight-on, then make a wider image showing the component where it appears. That context can distinguish an original mark from a later replacement part.
Use measurements and construction to test a proposed attribution. Check whether the solder, hinge, clasp, pin, stone setting, and wear patterns fit the claimed period. Stones may have been replaced, a chain may not be original to a pendant, and a box or receipt may belong to a different piece. Record uncertainty rather than filling gaps with a famous name.
For metal value, keep the melt calculation separate from the collectible question. Weight and fineness can produce a useful floor or baseline, but workmanship, maker, rarity, gemstones, condition, provenance, and demand may matter more. Never damage a potentially valuable piece to perform a home test when a qualified professional can examine it safely.
Scale and lighting matter when reading a tiny hallmark. Place the piece on a stable, neutral surface, use diffuse light from the side, and take several exposures at slightly different angles. Avoid sharpening filters that can invent edges inside a blurred mark. Transcribe only what you can actually see, then compare the reading with the form and construction before assigning a maker or date.
Jewelry photographs should show how the piece opens, fastens, and moves. Hinges, safety catches, pin stems, links, prongs, and solder seams often reveal repairs or later assembly. Photograph the reverse of stones when possible, but do not remove them from their settings. A good record preserves both the decorative appearance and the practical construction, which makes later comparison with catalogues and specialist examples much more useful.
For a high-value piece, keep the research trail private until you have verified the basic facts. Public comments can repeat an attractive but unsupported attribution, while a specialist needs clear photos, measurements, and an honest condition description. A calm, documented process protects the object and gives you better evidence if you later need insurance, estate, or sale advice.
Take the next photo with Antique Identifier.
Scan a find on Android or iPhone to get a first-pass identification, age clues, history, and an indicative value range for your research.


Questions collectors ask
Does 925 prove a piece is antique?
No. 925 indicates a silver fineness convention, but it does not establish age, maker, design, condition, or authenticity.
How can I make a hallmark easier to read in a photo?
Use diffuse light, hold the camera parallel to the mark, steady the piece, tap to focus, and take several views without polishing or scraping the surface.
Can an app identify jewelry from a photo?
An app can suggest style, materials, and research clues, but metal purity, gemstone treatment, hidden repairs, and high-value authenticity often need specialist examination.
Useful research tools
Research note: Photo-based results and calculators are for discovery and planning. They are not formal appraisals, authenticity certificates, insurance reports, or guarantees of a sale price. Read the valuation disclaimer.