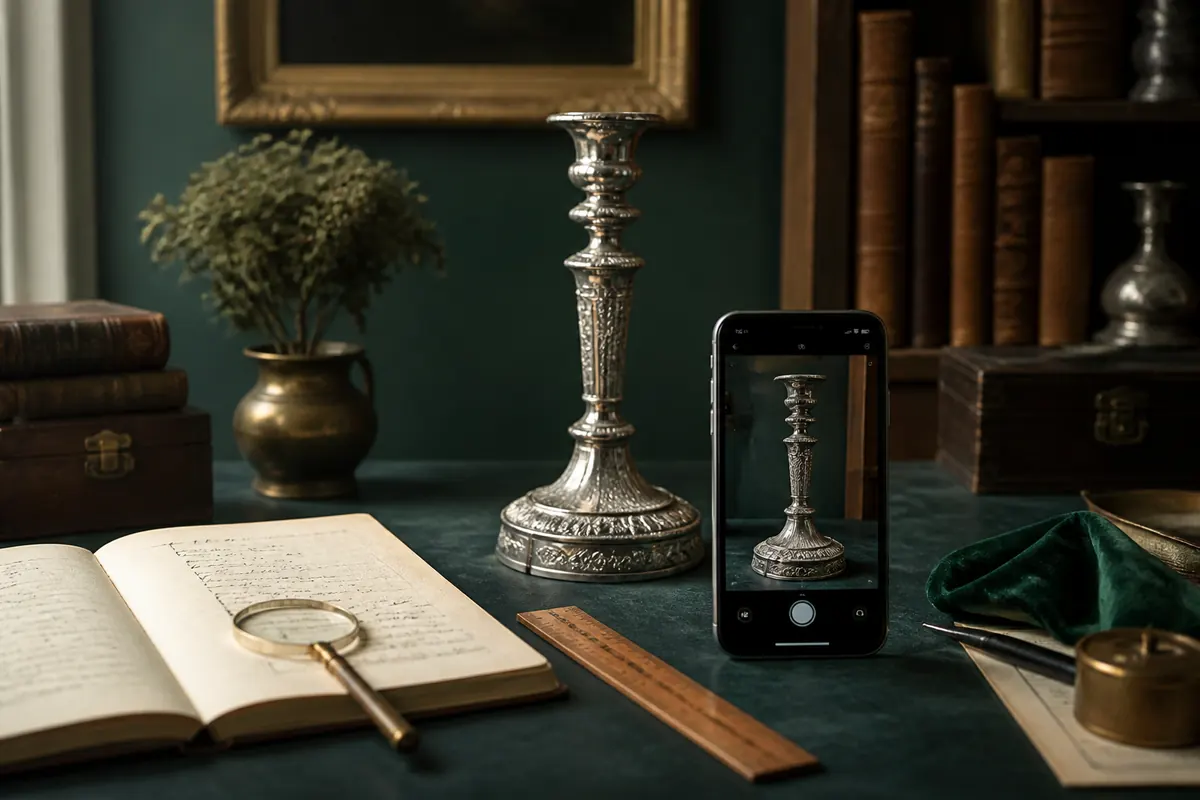
Quick answer: A photograph can narrow down an antique’s object type, likely period, materials, and research trail. It cannot prove authenticity on its own. The most useful identification combines a clear image with marks, measurements, construction details, condition notes, and a little history. Use the steps below to collect evidence before you search for an exact maker, date, or value.
Start with the object, not the price
When people find an old-looking object, the first question is often “What is it worth?” A better first question is “What exactly is this?” A vase, for example, might be a nineteenth-century art pottery piece, a later decorative reproduction, or a modern object made in an antique style. Those categories can look similar at a glance but lead to very different research and value ranges.
Use your first photo to establish the basics: object type, approximate size, apparent material, construction, decoration, and intended use. Keep your language provisional. “Likely earthenware bowl with a blue transfer pattern” is more useful than “rare antique bowl” because it gives you details to test.
Take a photo set that preserves evidence
One attractive front view is rarely enough for serious identification. Photograph the whole object first, then capture the places where makers, restorers, and time leave evidence. Use soft, even light near a window or a diffused lamp. Turn off filters and portrait effects, clean the camera lens, and leave a little space around the object so its outline is visible.
For a useful photo set, include the front, back, both sides, top or interior, underside, and any removable parts. Add a scale photo with a ruler or tape measure beside the object rather than covering it. For furniture, include drawers, joints, hardware, the underside, and the back. For jewelry and silver, photograph each mark straight-on with a close-up and a wider shot showing where the mark appears.
Photograph damage honestly. Chips, cracks, replaced handles, re-polishing, overpainting, missing parts, and unstable repairs may matter more to value than the object’s decorative style. A clear condition photo helps an app or specialist avoid treating a repaired object as an untouched example.
- Use bright indirect light and avoid glare on glass, glaze, varnish, and polished metal.
- Keep the item in focus and use the highest practical image quality.
- Photograph labels, signatures, stamps, numbers, and handwritten notes separately.
- Add measurements, materials you know, where the object came from, and any family history.
Keep the evidence usable after the photo session
Keep the original image files as well as any crops or screenshots. Give each photo a simple name that identifies the object and view—such as “vase-underside-mark” or “chair-left-dovetail”—so a later comparison does not depend on memory. Save the dimensions, weight when relevant, and a note about where the object came from beside the image set.
This small record makes it easier to check whether a proposed maker, date, or comparable example really fits the object in front of you. It also gives an appraiser, dealer, conservator, or family member a more honest trail to follow. If you need a detailed shooting sequence, use the companion photo guide before you upload or share the images.
- Keep one uncropped full-object image for scale and outline.
- Label close-ups by their location on the object, not only by a guessed maker or period.
- Record uncertainty as a question to test rather than as a finished attribution.
Read the clues in layers
Good identification is a process of corroboration. Start with visible form and style, then test that first impression against material, construction, marks, and wear. A maker’s mark is a clue, not a conclusion: marks can be copied, reused, misread, or applied to later objects. The mark should agree with the shape, clay, metal, joinery, decoration, and expected period.
Construction often outlasts surface fashion. Hand-cut joinery, saw marks, screw types, casting seams, glass distortion, foot rims, woven stitching, and the way a finish has aged can narrow the date more reliably than a color or motif that was revived later. Compare several details rather than letting one exciting feature decide the answer.
Provenance adds context but is also something to verify. A family story, old photograph, receipt, estate inventory, dealer label, or auction record can help explain an object’s path. Record what is documented and what is only remembered. That distinction makes your research more credible.
Use an image identifier as a research starting point
An AI antique identifier is most useful when it helps you decide what to inspect next. A photo-based result can suggest a likely category, style period, region, material, and visual clues to compare. It can also surface alternative possibilities that prevent you from anchoring too quickly on the first label that sounds plausible.
Treat the result as a hypothesis, not a certificate. For an ordinary thrift-store find, it can make research faster. For a valuable, fragile, signed, or disputed object, use the result to prepare better questions for a qualified specialist. The higher the potential value, the more important hands-on examination and comparable completed sales become.
Antique Identifier is designed for that first-pass workflow: photograph the object, review the likely identification and story, note the marks and uncertainty, then decide whether you need deeper research or a formal appraisal.
A simple identification checklist
Before you search for a maker or price, write down what the object can actually show. This keeps the research grounded and gives you a repeatable record for future finds. Save the original photos, not only cropped screenshots, and label them by view so a later reviewer can follow your reasoning.
If the object has no visible mark, do not assume it has no history. Many useful identifications come from the combination of proportions, materials, construction, decoration, and condition. “Unmarked” is a research result that tells you to rely more heavily on physical evidence and comparable examples.
- What is it, and what was it made to do?
- What materials and construction methods are visible?
- Where are the marks, labels, signatures, or numbers?
- What dimensions, weight, and moving parts can you document?
- What damage, repairs, replacements, or alterations can you see?
- Which details support the likely period, and which details disagree?
When to stop researching online
Online research is a powerful first step, but it has limits. Stop relying on photos alone when the object may be valuable enough to affect insurance, an estate, a donation, a legal matter, or a major purchase. Seek a qualified appraiser or specialist when authenticity is disputed, the piece has a famous attribution, the condition is difficult to assess, or the market range is unusually wide.
For everyday collecting, the goal is not false precision. A careful probable identification, a documented list of clues, and a realistic value range are more useful than a confident-sounding exact date or price that the evidence cannot support.
Turn a photo result into evidence
After an image identifier suggests a category or period, pause before searching the exact phrase in quotation marks. Write down the visible clues that led to the suggestion: proportions, decoration, materials, mark location, construction, and wear. Then search those clues separately. This makes it easier to discover an alternative maker or later reproduction instead of confirming the first answer you saw.
Keep a simple research record with the original image, cropped mark photos, dimensions, weight, condition notes, and links to comparable examples. Add the date of your search because marketplace results change and old listings disappear. If another person reviews the item later, they should be able to see which facts were observed, which were supplied by family history, and which remain a hypothesis.
For a purchase, compare the likely downside as carefully as the possible upside. A low-cost object may only need a useful description, while a signed or unusually valuable item deserves a specialist opinion. The best use of a photo-based antique app is to help you ask better questions before you spend money or alter the object.
If several clues disagree, keep more than one candidate alive. Record what would make each possibility stronger or weaker, then take the next photo that can answer that question. This habit reduces confirmation bias and produces a more useful result than repeatedly searching the same attractive label.
Use the app’s suggested terms as search vocabulary, not as a finished catalogue entry. Try broader and narrower versions of the phrase, and include the object’s material or function. For example, a likely “decorative brass vessel” can lead to better research when combined with its height, handle shape, foot, and surface pattern. This approach keeps the result grounded in observable details and helps you discover related objects that may share the same manufacturing tradition.
When you reach a likely identification, check whether the proposed date agrees with the object’s materials and manufacturing technology. A style may be old while the item is later, and a genuine old object may have been altered. Save both supporting and contradictory clues. That balanced record is useful whether the next step is a museum reference, a dealer’s opinion, a marketplace listing, or a formal appraisal.
Take the next photo with Antique Identifier.
Scan a find on Android or iPhone to get a first-pass identification, age clues, history, and an indicative value range for your research.


Questions collectors ask
Can I identify an antique from one photo?
One photo can suggest an object type and style, but several views are better. Include the whole object, underside, marks, scale, and condition details for a more useful first pass.
Can an AI app prove that an antique is authentic?
No. AI can organize visual clues and suggest possibilities, but authenticity, hidden repairs, provenance, and high-value attributions may require hands-on examination by a qualified specialist.
What should I photograph first?
Start with a clear full-object photo in even light, then take close-ups of maker marks, labels, signatures, construction, damage, and any unusual details.
Useful research tools
Research note: Photo-based results and calculators are for discovery and planning. They are not formal appraisals, authenticity certificates, insurance reports, or guarantees of a sale price. Read the valuation disclaimer.