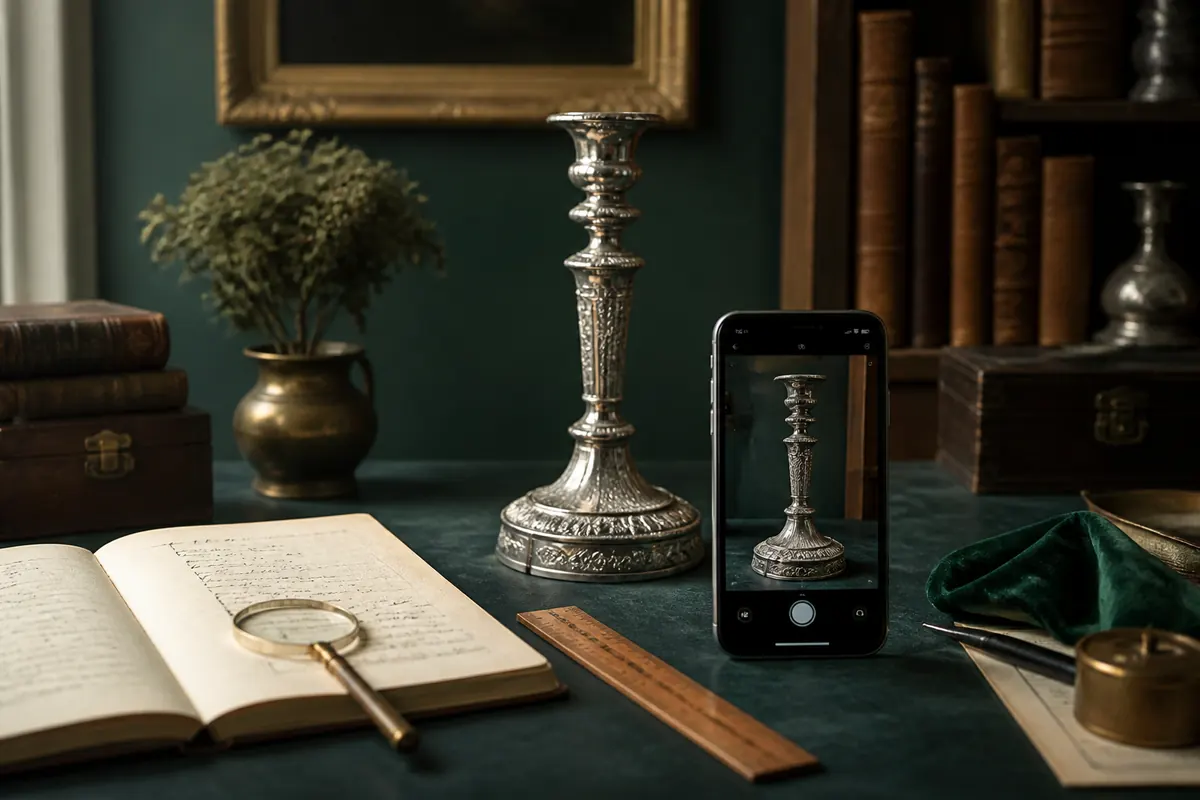
Quick answer: A useful antique photo is evidence, not just a pretty picture. A clear set of views can show an object’s form, construction, marks, scale, wear, and repairs well enough to guide the next research step without pretending that a photograph settles every question. Use the steps below to collect evidence before you search for an exact maker, date, or value.
Why one attractive photo is rarely enough
An antique can look convincing from one flattering angle while its underside, joinery, label, screw heads, foot rim, clasp, or repair tells a different story. A single image can help identify a broad object type, but it rarely provides enough evidence to assess period, originality, material, maker, or condition with confidence.
Think of the photo set as a record someone else can inspect. The aim is not to make an object look more valuable. It is to make its visible clues easy to review. That approach helps whether you are using an identifier app, comparing reference examples, asking a specialist a focused question, or preparing an honest listing.
Prepare the object and shooting area safely
Begin with the object stable on a clear, neutral surface. Do not force drawers, hinges, lids, clasps, or movements just to get a better angle. Move fragile furniture with help, support ceramic handles and lids, and avoid placing heavy objects on a glass or polished surface that could scratch or slip.
Before taking photographs, remove loose dust only with a soft dry brush or cloth if that is safe for the material. Do not polish metal, strip wood, soak ceramics, use brightening products, or clean a mark aggressively just for a photo. Cleaning can change the very patina, surface, residue, or label that gives the object useful context.
Use soft light and control glare
Bright indirect daylight near a window is often the easiest starting point. Place the object so the light comes from the side rather than straight behind it, then move yourself or the object slightly until the form is readable. A thin curtain, white sheet, or diffuser can soften harsh sun; a plain white card can gently reflect light into a dark side.
Glass, silver, polished brass, glaze, varnish, and dark lacquer need extra care because reflections can hide marks and make damage disappear. Do not use a flash straight at the object. Change the angle of the object, camera, or light instead, and take one image that favors the mark and another that favors the surface.
- Use even, indirect light whenever possible and turn off beauty filters or portrait effects.
- Wipe the camera lens before you begin; haze on the lens can make wear look worse or obscure fine details.
- Take two exposures when a mark is faint: one evenly lit and one with light coming across the surface at a shallow angle.
Capture the essential sequence of views
Start with a straight-on full view that shows the entire outline. Then work around the object in a consistent order: front, back, both sides, top or interior, underside, and any moving, removable, or hidden parts. Keep enough empty space around the object that its proportions are obvious; a close crop can make a small vase look as large as a floor urn.
For furniture, include drawer interiors, joints, hardware, the back, and the underside. For clocks, include the dial, movement if it can be shown safely, case back, and any label. For jewelry and silver, photograph the whole piece, clasp or fitting, hallmark location, and a close-up that shows the mark without losing the object’s overall form.
- Photograph the whole object before taking close-ups.
- Keep the camera parallel to flat surfaces such as labels, plaques, paintings, and maker’s marks to reduce distortion.
- Use a second wider frame to show exactly where every close-up detail appears.
Photograph marks, labels, signatures, and hallmarks
A maker’s mark is often small, curved, worn, partly hidden, or reflective. Take one image from directly above it, then another slightly to the side if raking light reveals an impressed or incised mark more clearly. Tap to focus on the mark, hold the phone steady, and move closer only until the letters stay sharp; a blurry extreme close-up is less useful than a crisp image with surrounding context.
Never trace over, rub, chalk, ink, or wet a mark to improve its appearance. Photograph spelling, punctuation, symbols, numbers, and the mark’s location exactly as found. A partial word or symbol can be valuable when it is combined with the object’s material and construction, while an imagined letter can send research in the wrong direction.
Add scale, dimensions, and honest color
Include a ruler or tape measure beside an object in at least one frame, without covering the mark or decoration. Record height, width, depth, diameter, and weight separately when useful. Measurements can separate a miniature from a standard example, reveal an altered part, and make comparison with catalogues or completed sales much more reliable.
Phone cameras can shift color under warm lamps or dark backgrounds. Photograph the item in neutral light and avoid heavy editing. If color is central to the question—such as a glaze, enamel, gemstone, or paint surface—take a wider image that shows the surrounding light as well as a closer detail. Describe what you see rather than correcting it until it matches an expected period or maker.
Show condition, repairs, and construction details
Photograph condition as carefully as decoration. Chips, cracks, dents, replaced handles, overpainting, loose veneer, corrosion, worn gilding, and later hardware can change both identification and value. Use a close-up to show the detail and a wider image to show its location. Include a scale when the size of the issue matters.
Construction photos are especially useful for furniture, ceramics, clocks, and metalwork. Capture joints, screw heads, seams, foot rings, back panels, drawer bottoms, hinge attachment, casting lines, and worn contact points. These details should not be used alone to date an object, but they can test whether a proposed style or mark makes sense.
Organize the set before uploading or sharing it
Keep the original files and label them by object and view, such as “brooch-front,” “brooch-clasp,” and “brooch-hallmark.” Save measurements, condition notes, and the place the item came from alongside the images. That record lets you return to the physical evidence if an early result turns out to be incomplete or if a specialist asks a more precise question.
When you upload to an identification app or ask for help online, start with the full-object photo and add the most useful supporting views. Avoid sending twenty nearly identical front images. A short, well-organized set is more likely to reveal a meaningful clue and easier for another researcher to verify later.
- Whole object: front, back, sides, top or interior, and underside.
- Evidence: marks, labels, signatures, construction, measurements, and condition.
- Context: where the item came from, known repairs, and questions that still need testing.
Avoid edits that hide the evidence
Keep the original image separate from any edited copy. A small crop can make a faint hallmark easier to inspect, but it should not replace the wider image that proves where the mark sits. Avoid filters that intensify color, smooth scratches, sharpen lettering beyond recognition, or remove a distracting repair. Those changes can make a useful research record less trustworthy.
If you need to brighten a dark image so a detail is visible, retain a natural-looking version and say that it has been adjusted when sharing it with a specialist or buyer. The same rule applies to backgrounds: a plain surface is helpful, but do not remove context that identifies the object’s size, condition, or relationship to a component. Clear documentation is more valuable than a dramatic image.
Know when photographs are not enough
Photographs are a strong first step, but they cannot reveal every hidden repair, material test, movement condition, provenance document, or authenticity concern. Stop relying on images alone when the object could affect insurance, an estate, a major purchase, a donation, a legal matter, or a significant sale.
Use a photo-based result to prepare a better question for a qualified appraiser, conservator, auction specialist, or category expert. The goal is a clear research trail: what was observed, what is suggested, what evidence supports it, and what still needs hands-on examination.
Take the next photo with Antique Identifier.
Scan a find on Android or iPhone to get a first-pass identification, age clues, history, and an indicative value range for your research.


Questions collectors ask
How many photos do I need to identify an antique?
Start with a full-object photo, then add the back, underside, marks, scale, condition details, and any moving or removable parts. The exact number depends on the object, but several purposeful views are usually more useful than one close crop.
What is the best lighting for photographing antiques?
Bright indirect daylight is a practical starting point. It shows form without the harsh reflections and shadows that direct flash or strong sun can create.
How do I photograph a shiny metal or glass antique without glare?
Move the object, camera, or light source slightly until the reflection shifts away from the important detail. Use soft side light and take more than one angle rather than using flash straight at the surface.
Should I include a ruler in antique identification photos?
Yes, include a ruler or tape measure in at least one frame without covering important details. Dimensions often help distinguish similar forms and compare reference examples.
Can a phone camera take good antique identification photos?
Yes. A clean lens, good focus, indirect light, steady framing, and a deliberate set of views matter more than expensive equipment for most first-pass identification research.
Useful research tools
Research note: Photo-based results and calculators are for discovery and planning. They are not formal appraisals, authenticity certificates, insurance reports, or guarantees of a sale price. Read the valuation disclaimer.